For studios · Common Tasks
Setting up your studio (guided setup)
A walk through the guided setup steps — what each one does and why it's worth doing.
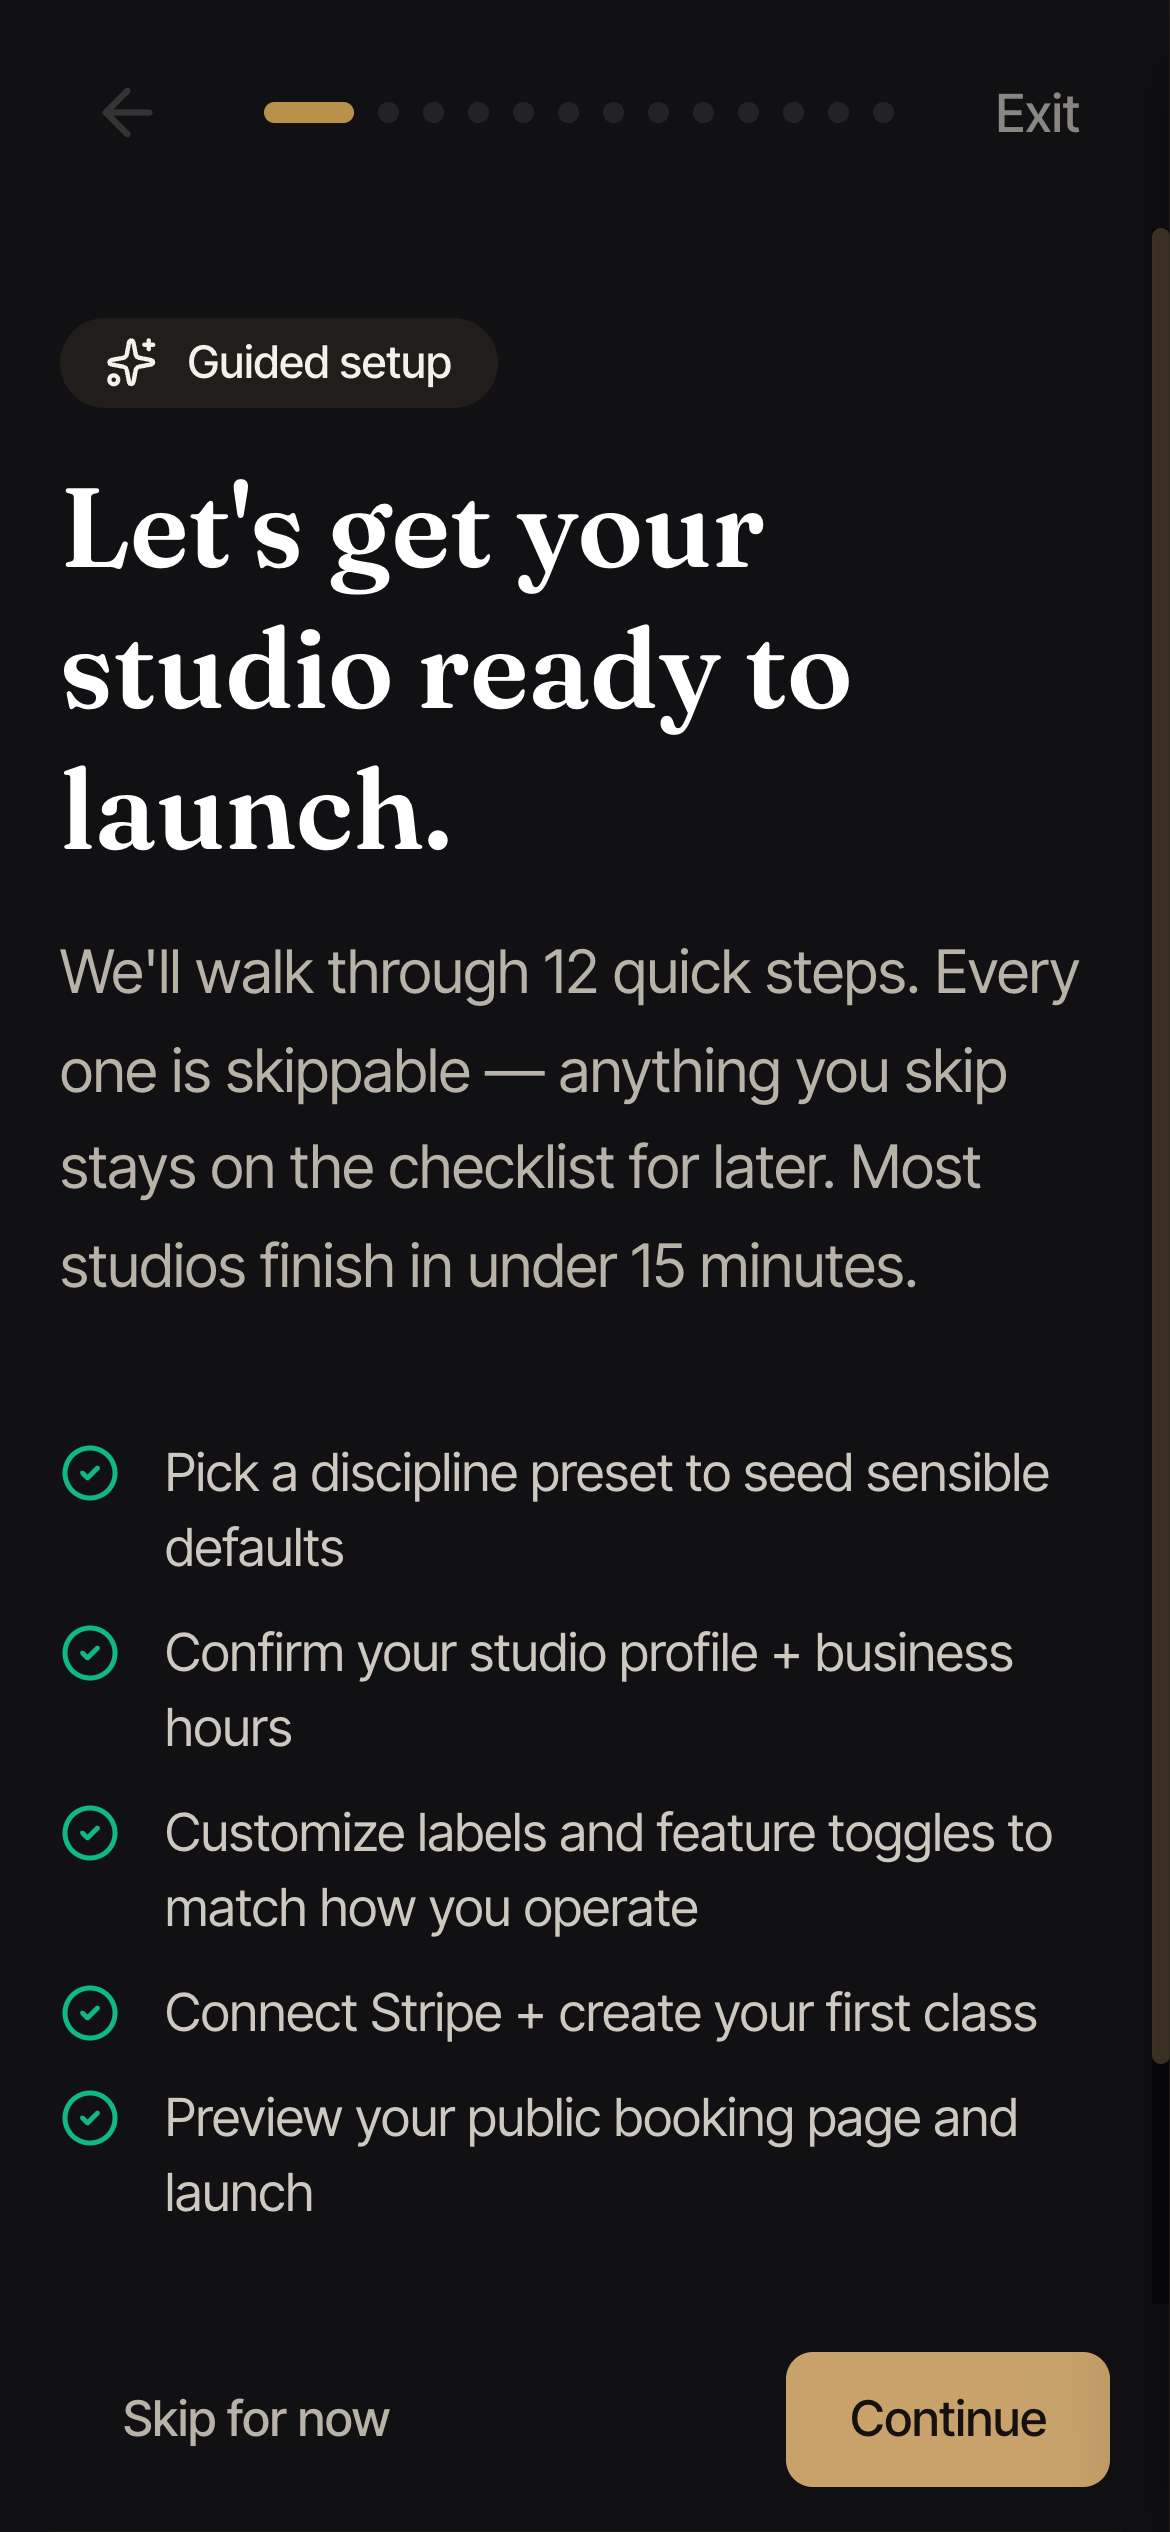
When you’re new, Guided setup walks you through getting your studio ready to launch — a handful of quick steps, each one skippable, and most studios finish in about fifteen minutes. You can open it from your setup checklist any time.
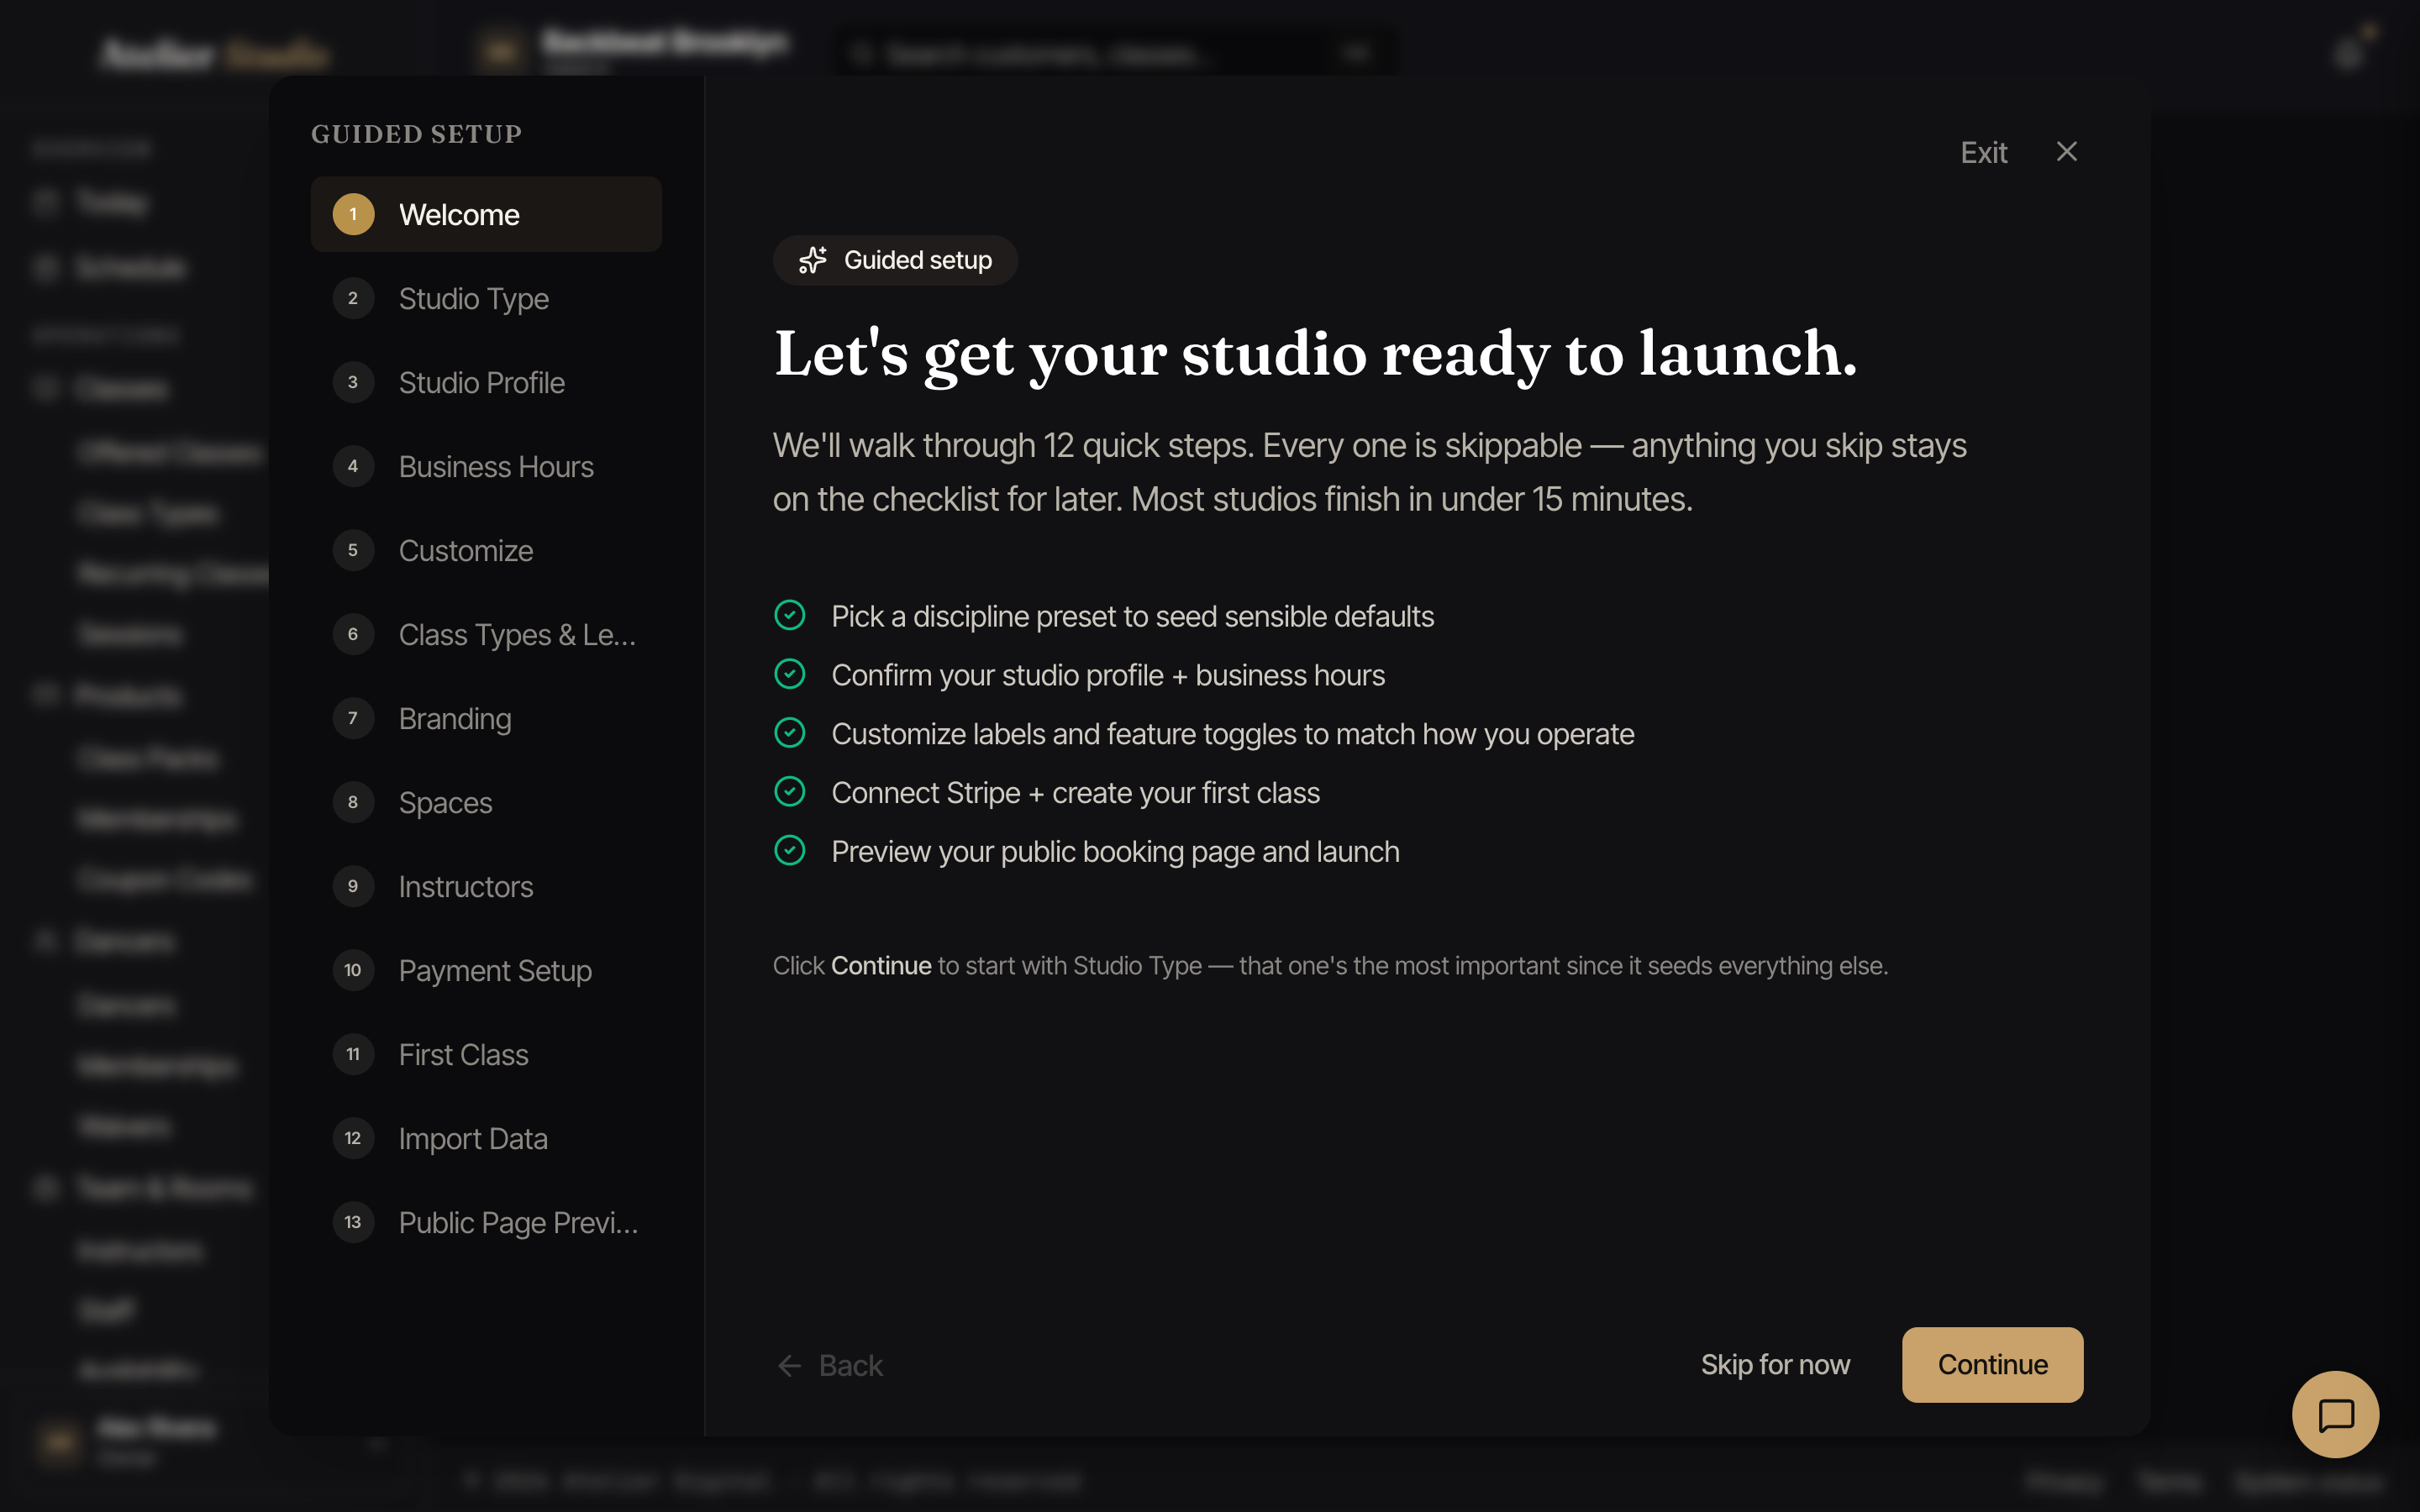
The steps, and why each matters
- Welcome — a quick tour of what’s ahead.
- Studio Type — pick your discipline (dance, music, and so on). Do this one first: it sets sensible labels and turns on the features that fit your kind of studio, so everything afterward starts in the right place.
- Studio Profile — your name, address, phone, time zone, and booking-page web address. This is what clients see and what your reminders use.
- Business Hours — the days and times you’re open, so classes only land when you’re actually running.
- Customize — a chance to rename things and switch features on or off to match how you work.
- Class Types & Levels — the styles you teach and the difficulty levels, so classes are easy to organize and for clients to pick.
- Branding — your logo, banner, and colors, so your booking page looks like you.
- Spaces — add at least one room, so two classes can’t be booked into the same place at once.
- Instructors — invite the people who teach (you can skip this if it’s just you).
- Payment Setup — connect payouts so you can actually get paid. Don’t skip this if you’ll charge for classes.
- First Class — create your first class, so your schedule isn’t empty on day one.
- Import Data — bring your existing students or history over from a spreadsheet if you’re moving from another system.
- Public Page Preview — take a look at your booking page as clients will see it, then launch.